How do I enter payments?
Plots
Use Enter Payments to record, update, and delete payment transactions.
Entering payments
1. Open Connect > Cemetery Management > Plots > Enter Payments.
2. Verify the date.
The current date is the default date. You may need to change the date if you're entering a payment for a prior or future date.
3. Enter the plot.
You can enter the plot number or owner. You can Search this field.
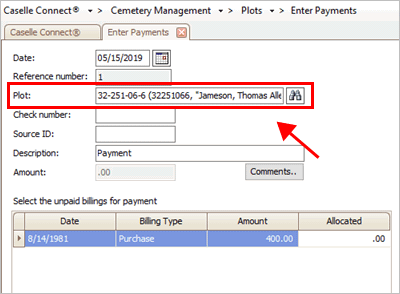
Plot
The owner's unpaid billings display in the Select the Unpaid Billings for Payment transaction grid.
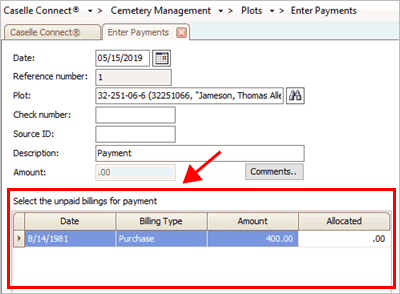
Select the Unpaid Billings for Payment transaction grid
4. Enter the payment information and amount.
Add the check number (optional), source ID (optional), and description.
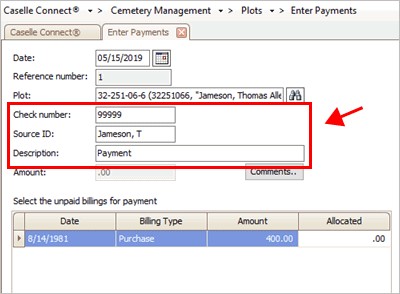
Check number, source ID, and description
Use the Select the Unpaid Billings for Payment transaction grid to allocate the payment to the owner's unpaid billings.
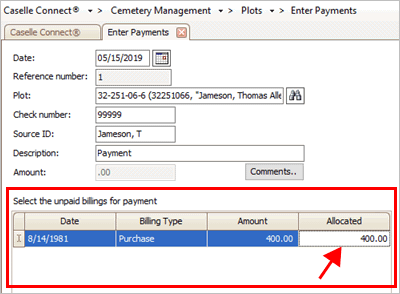
Allocated column in the Select the Unpaid Billings for Payment transaction grid
If you would like to add additional information, click the Comments button.
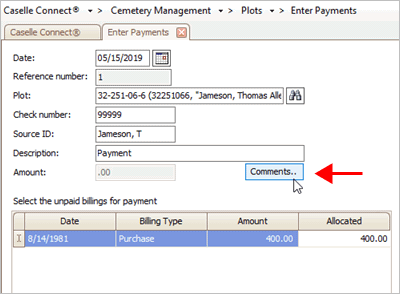
Comments button
5. Press Enter.
The payment is saved and the saved transaction displays in the Payment Summary transaction grid.
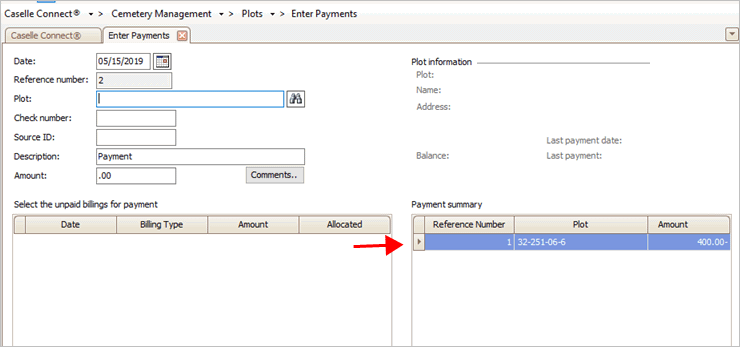
Saved payment displays in the Payment Summary transaction grid
2019.08, 2019May15
Changing payment information
1. Open Connect > Cemetery Management > Plots > Enter Payments.
2. Enter the date when the payment was created.
3. Click Edit (CTRL+E).
The payment transactions that were created on the selected date will be displayed in the Payment Summary transaction grid. You can use the Payment Summary transaction grid to locate the reference number.
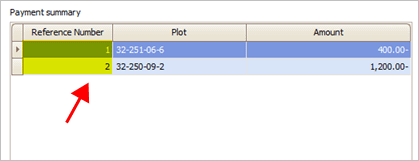
Reference number column in the Payment Summary transaction grid
4. Enter the reference number and then press Enter.
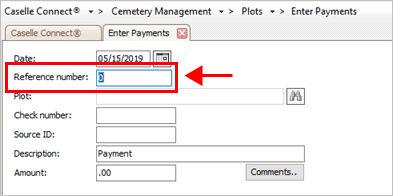
Reference number
The payment transaction displays on the screen.
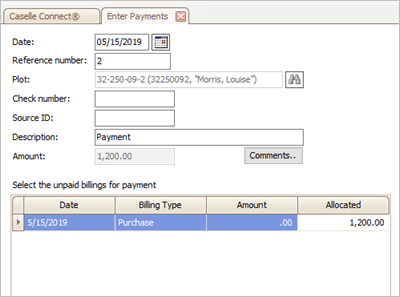
Enter Payments screen showing a saved transaction
5. Update the payment transaction.
You can edit the check number, source ID, description, and amount.
What if I need to edit the plot? If you need to change the plot, delete the payment transaction and enter a new payment.
6. Press Enter again to save your changes.
Your changes are saved. The updated transaction in the Payment Summary transaction grid.
201909, 2019May05
Deleting a payment
1. Open Connect > Cemetery Management > Plots > Enter Payments.
2. Enter the date when the payment was created.
The payments that were created on the selected date will be displayed in the Payment Summary transaction grid.

Payment Summary showing saved payment transactions
3. Click Delete/Abort (CTRL+D).
The Delete Payments dialog box displays.
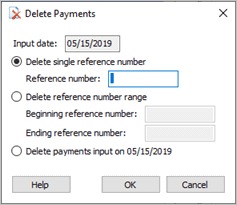
Delete Payments
4. Click to select Delete Single Reference Number.
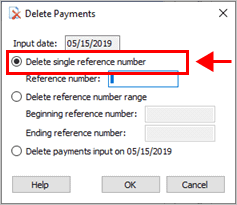
Delete single reference number
5. Enter the reference number and then click OK.
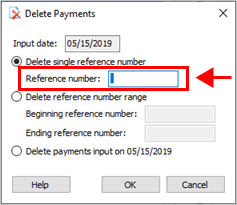
Reference number
The payment is deleted.
2019.08, 2019May15
Copyright © 2020 Caselle, Incorporated. All rights reserved.